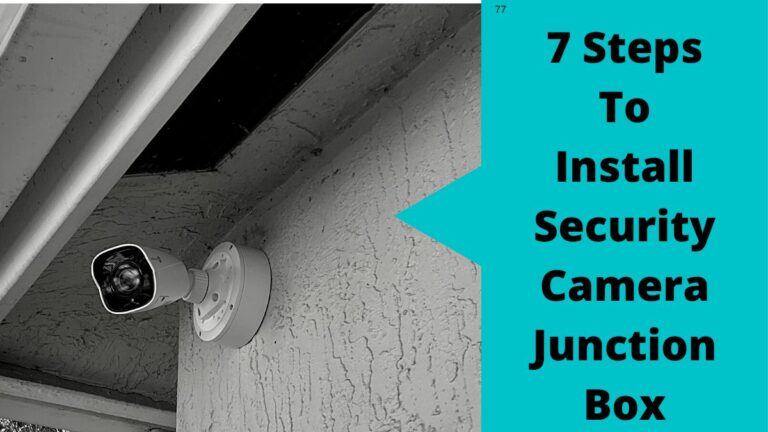
Having a security camera junction box is a good thing but unfortunately, not all people know how to use it. So this blog post will be about how to install security camera junction box in the correct way.
Plus, we’ll mention some other important tips related to the installation process.
Why do I need to Install security camera junction Box?
Well, the whole thing begin when my brother recently commit a mistake and install his security camera without a junction box in his home.
He faced many problems including the connection getting loose and the video quality decreasing when there’s harsh weather outside, and others.
He told me about an incident when it rained, water got into the camera and damaged it.
A person who was trying to break into his home saw the camera and took an advantage of that.
He entered the house through the window and stole one apple laptop and diamond jewelry and even the camera was not able to record what happened.
So, if you face the same problems and you like to overcome them? then you are in right place.
In this article, we’ll show you how to install a CCTV camera junction box step by step.
Now
What is a CCTV junction box?
Well, a junction box is an essential part of a security camera system, as it connects the camera to power and recording devices.
These boxes are usually made of metal or plastic and have a weatherproof seal to protect your equipment and increase its lifespan.
Aside from protecting the cameras from weather, tampering, and damage but junction boxes also make the security camera installation and changing location easier.
What are the tools used to Install a security camera junction box?
There are a few tools that you will need to install your security camera junction box.
For example, if you have an IP camera with an audio recording feature then it’s necessary to drill a small hole in the junction box for the mic.
Not for audio only, you will need to make another hole for cable, and power wires.
On the other hand, if you have a normal CCTV camera you may not need to drill holes, or you may drill one hole, not more.
In case you have a wire-free camera, then you need only the junction box as this camera is powered by batteries.
Whatever the model of camera you purchase, you will need to have the following items handy:-
- A ladder
- Wire cutters
- Cable strippers
- Screwdrivers
- Electric Drill and drill bit
- Hammer
- Wire snake, or fish tape
The 7 Steps To Install Security Camera Junction Box
Installing a security camera junction box is not complex as it may appear at first glance.
Fortunately, the process can be completed in seven easy steps without the help of a professional and in a short amount of time. Let’s see
Step 1: Select the place to install a security camera junction box
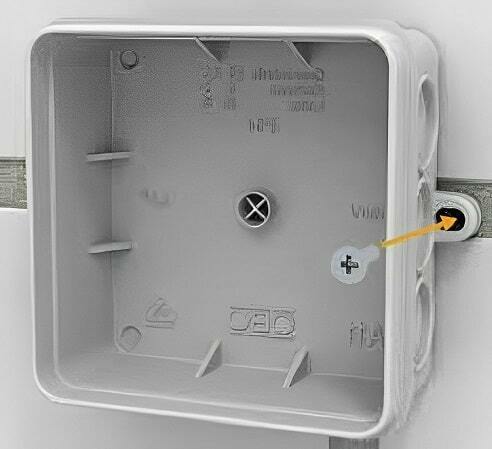
Before you take a step, you should be to determine where you want to place your junction box.
For the perfect location, it’s important to select hard-to-reach spots for mounting the junction box as it protects your security camera from being stolen.
Also, it is advisable to choose a location near an electrical outlet. This way, you will be able to easily connect your camera to the power source.
Step 2: Mark the Screw spots on the box
The 2nd step to install security camera junction box is to make signs on box screws.
To mark the screw spots on the wall, you will need to use a pencil, once you have selected the right position for your junction box, start to make signs on every screw spot.
What I mean is if you’re installing a junction box on the side of your house, you may want to mark the spots where the screws will go into the siding.
After that, The holes for the box screws can be drilled and the box can be installed more easily.
Step 3: Drill holes for the junction box screws
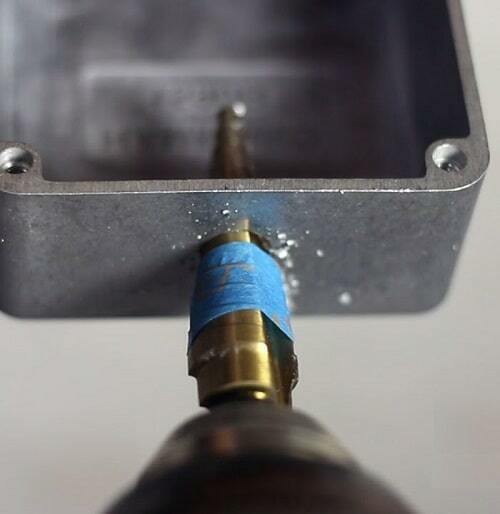
Now after finishing marking points for screws with a pencil, it is time to drill the holes in the board.
Turn on the electric drill, then use a drill bit that is slightly smaller than the screws so that they will fit inside the hole when you use them.
Also, don’t forget to drill holes into the box for the mic, sensors, wires, or cables of your camera.
Once you finish, it’s recommended to clean the holes from the drilling remains before using them.
After that, start to place the screw fisher if you’re gonna mount the junction box on the wall, if not insert the screws of the box directly into the drilled holes.
Step 4: Run the Security Camera wires inside the box
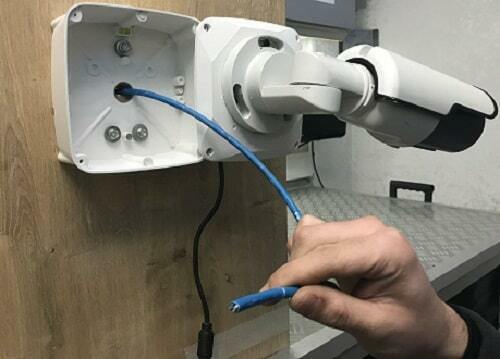
The next step is to run the security camera wires through the hole in the junction box.
To do this, simply feed the wire through the hole of the box. Once the wire is in place, use cable ties to secure it in place.
Pro Tip: Don’t forget to leave enough length of wire out of the box so that you can easily connect the camera to the power supply, or the video recorder.
Step 5: Connect the camera wires
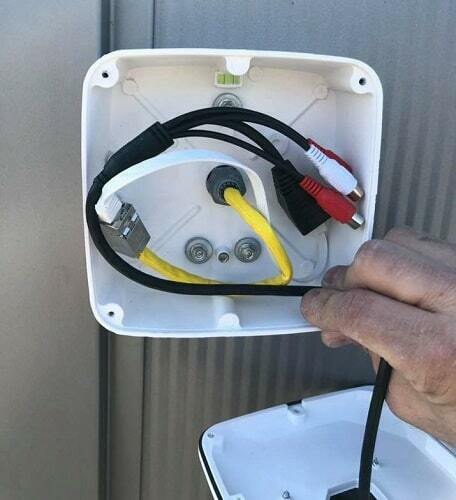
Now that the wires are in place, it’s time to connect them to the DVR or NVR.
To do this, simply connect the power supply to the camera and then connect the Ethernet cable from the DVR or NVR to the camera if it’s PoE.
In case it’s a wireless camera, then all you have to do is to connect the camera to power and after that link it to your home wifi.
Note that to prevent interference, the connections must be tight. Once the connection is made, you can close up the junction box.
Step 6: Attach the camera body to the junction box door
Now, the connections of the camera are made, and everything is ready, except attaching the camera to the box.
Next, you are required to mount the camera body to the door of the junction box.
Simply align the holes on the camera body with the screws on the door and then screw them in place.
Moreover, be sure to use the appropriate screws for your camera so that it is securely in place.
Step 7: Use a Screwdriver to fix the camera
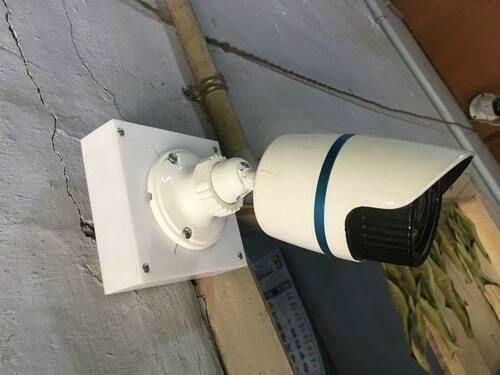
The final step is to use a screwdriver to tighten the screws of the camera and fixed them on the targeted area.
This will ensure that the camera is securely in place and will discourage potential criminals and burglars.
Moreover, it will also help to prevent the camera from moving loosely in case of strong wind, or rain.
Anyway, Setting up a junction box for your security camera is very easy if you follow these seven steps.
Just be sure to follow the instructions carefully and double-check all of the connections before you close up the box.
The purpose of this is to ensure that your camera is properly installed so that your home or business is kept safe in the most effective way possible.
However, it’s possible also to install your security camera without a junction box if you decide.
Anyway, In case you need to fill your knowledge with more on how to install a security camera junction box outside, watch the following video
Source: Pipl Systems Security
Conclusion:
Installing a junction box for your security camera is a relatively easy process that can be accomplished in seven easy steps. The only thing that you need to do is to determine the location of the junction box.
You will need to draw the screw spots, make the holes, and then run the camera wires over the holes in the junction box.
As soon as the wires are in the right position, you can now link them to the DVR or NVR.
In addition to that, it is also possible to fasten the body of the camera to the door of the junction box once that has been done.
Adjust the screws on the camera with the assistance of a screwdriver. I believe that by following these guidelines carefully, you can successfully install a security camera junction box in a short time.
This will make it easier to deter potential thieves and vandals and will offer the finest possible protection for your home or business.
